Integrating Storybook v5 in React Native: Step-by-Step Guide
Posted in storybook, react-native-storybook-loader on March 16, 2023 by Hemanta Sapkota ‐ 6 min read

React Native is a popular framework that enables developers to build mobile applications using the same building blocks as a web application. Storybook is a user interface (UI) development environment that enables developers to build, test, and refine UI components. Storybook integration with React Native provides a powerful toolset to create and test UI components. In this tutorial, we will explore how to integrate Storybook v5 with React Native.
Setting up Storybook
The first step in integrating Storybook with React Native is to set up the Storybook environment. Storybook is available as an NPM package, and you can install it using the following command:
npm i -g @storybook/cli
Once Storybook is installed, you can initialize a new Storybook project using the following command:
npx -p @storybook/cli sb init --type react_native
This command will create a new Storybook project in your current directory, which looks like follows:
<React Native Root>
	storybook
	├── addons.js
	├── index.js
	├── rn-addons.js
	└── stories
	    ├── Button
	    │   ├── Button.stories.js
	    │   └── index.js
	    ├── CenterView
	    │   ├── index.js
	    │   └── style.js
	    ├── Welcome
	    │   ├── Welcome.stories.js
	    │   └── index.js
	    └── index.js
The command also adds two new Storybook-related scripts to package.json.
scripts: {
  "storybook": "start-storybook -p 7007",
  "build-storybook": "build-storybook"
}
Configuring Storybook
After initializing the Storybook project, the next step is to configure it to work with React Native.
Step 1: Disabling inlineRequires
By default, metro.config.js has inlineRequires enabled. However, when using the Hermes engine, you need to set inlineRequires to false in order to make Storybook run smoothly.
module.exports = {
  transformer: {
    getTransformOptions: async () => ({
      transform: {
        experimentalImportSupport: false,
        inlineRequires: false,
      },
    }),
  },
};
Step 2: Configure Storybook to Run Inside Your React Native Project
Let’s examine the command that the Storybook CLI installs in the package.json file: start-storybook -p 7007. This command initiates the Storybook server on port 7007. Once the server is running, you can access it by opening a web browser and navigating to http://localhost:7007.
In my view, running the Storybook inside the React Native app provides more value than using a web browser. This approach helps to address platform-specific differences between iOS, Android, and Windows. To execute the Storybook UI within a React Native app, modify the command as follows:
"storybook": "cross-env IS_STORYBOOK=true react-native start --reset-cache"
This command begins the React Native development server with the IS_STORYBOOK environment variable set to true, allowing Storybook to be run in the context of a React Native app. The --reset-cache flag clears the React Native cache before starting the server.
Just a heads-up about cross-env – it’s a package that enables you to set environment variables in a way that’s compatible with various operating systems such as Windows, Mac, and Linux. To add it to your React Native project, simply run yarn add -D cross-env.
Step 3: Load Storybook UI Root
The idea is simple: if the IS_STORYBOOK value is defined, the Storybook UI root will appear; if not, the App component will appear. To use the IS_STORYBOOK flag to determine the application’s entry point, make the following changes to the index.js file:
import {AppRegistry} from 'react-native';
import App from './App';
import {name as appName} from './app.json';
import StorybookUIRoot from './storybook';

const IS_STORYBOOK = process.env.IS_STORYBOOK === 'true';

const EntryPoint = IS_STORYBOOK ? StorybookUIRoot : App;

AppRegistry.registerComponent(appName, () => EntryPoint);
Step 4: Running Storybook
Once you have configured Storybook, you can launch your React Native app in Storybook mode by executing the following command:
yarn storybook
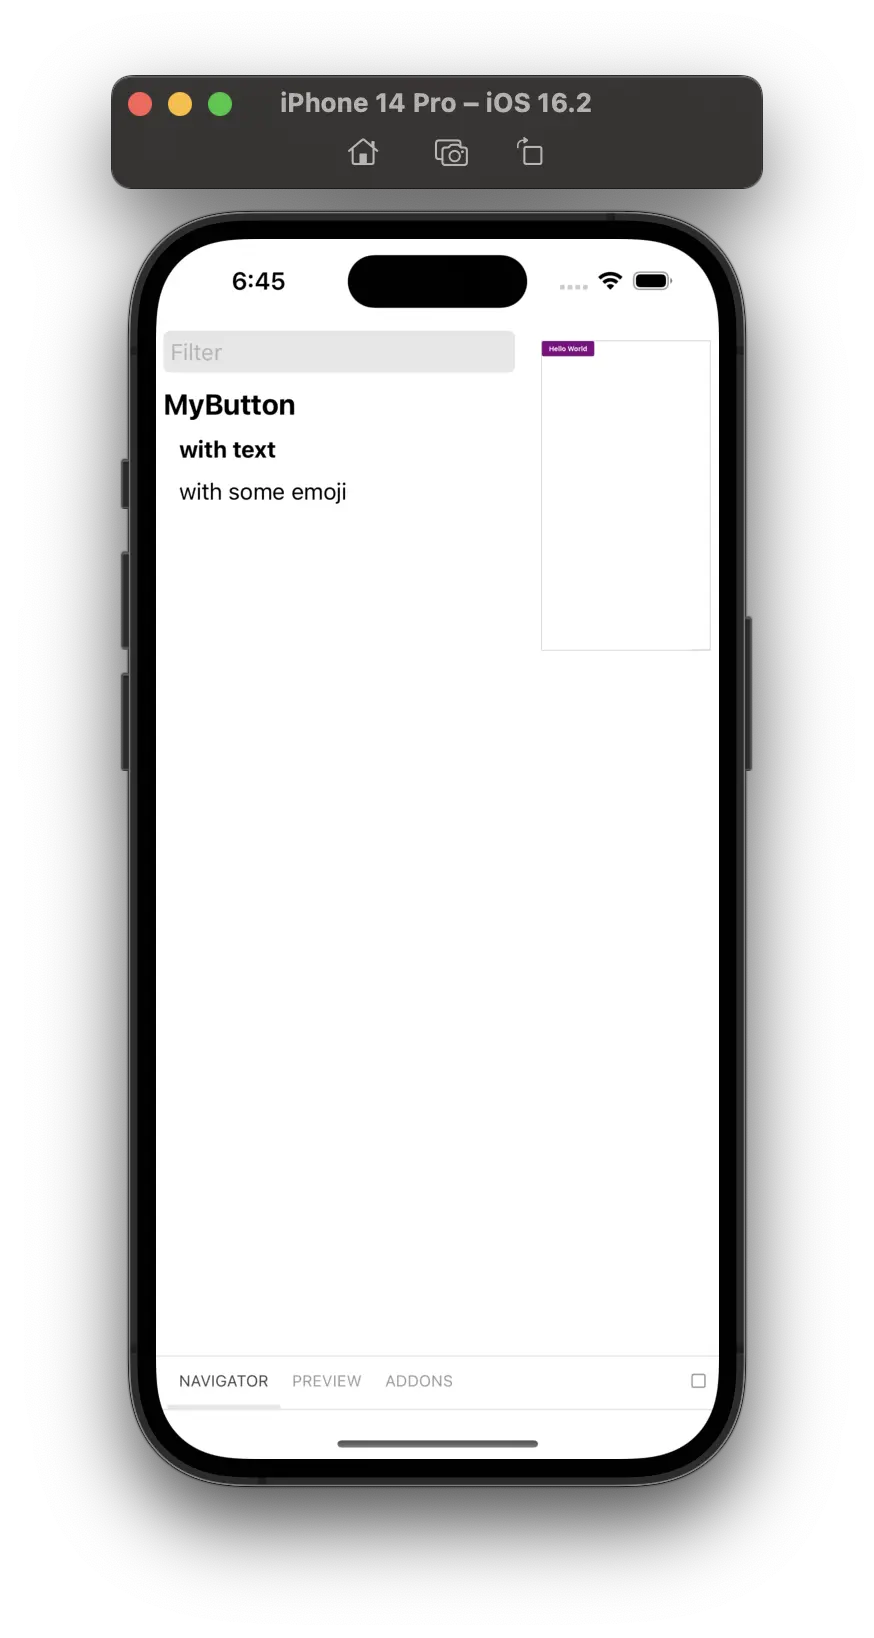
This command will start a React Native Metro bundler with the Storybook flag enabled. Upon launching the app, you should be able to see the app with the Storybook UI.
Snapshot Testing
Snapshot testing is a useful tool for testing React Native UI components. It automatically generates and compares UI component screenshots to ensure that changes to the component do not unexpectedly affect its appearance.
Step 1: Configure Storybook Snapshot Testing
To set up and configure snapshot testing within Storybook, add @storybook/addon-storyshots to your project
yarn add -D @storybook/addon-storyshots
Next, Create a file called storybook.test.ts with the following config:
import initStoryshots, {
  multiSnapshotWithOptions,
} from '@storybook/addon-storyshots';

initStoryshots({
  test: multiSnapshotWithOptions({}),
});
This code is configuring @storybook/addon-storyshots to generate screenshots of UI components as part of snapshot testing. initStoryshots is a function that initializes snapshot testing with Storybook, and the test property specifies the testing options to use. In this case, multiSnapshotWithOptions is used with an empty object as the argument, which generates multiple snapshots of each story with different widths and heights, allowing for testing on multiple devices and orientations.
Step 2: Generate Snapshots a.k.a Storyshots
Jest snapshot testing is a technique that takes a snapshot of a component’s rendered output and saves it as a reference. The next time the test is executed, the output of the component is compared to the stored reference snapshot to ensure that it has not changed unexpectedly.
If there are no snapshots available, running yarn test -u in Jest will create them. If the snapshots already exist, running the same command will update them.
Here is an example of what a storyshot looks like:
// Jest Snapshot v1, https://goo.gl/fbAQLP

exports[`Storyshots MyButton with some emoji 1`] = `
<View
  style={
    Object {
      "alignItems": "flex-start",
      "flex": 1,
    }
  }
>
  <View
    accessibilityState={
      Object {
        "busy": undefined,
        "checked": undefined,
        "disabled": undefined,
        "expanded": undefined,
        "selected": undefined,
      }
    }
    accessibilityValue={
      Object {
        "max": undefined,
        "min": undefined,
        "now": undefined,
        "text": undefined,
      }
    }
.....
React Native Storybook Loader
react-native-storybook-loader is a package that generates a story loader for Storybook by searching directories and matching files to patterns. Using react-native-storybook-loader saves time by automatically searching for and loading new stories as they are added to the codebase, instead of requiring manual searching and loading.
Step 1: Configuration
Add a new section to package.json with the following content:
{
	"config": {
	    "react-native-storybook-loader": {
	      "searchDir": [
	        "./src"
	      ],
	      "pattern": "**/*.story.tsx",
	      "outputFile": "./storybook/storyLoader.js"
	    }
	  },
}
This code is a configuration for react-native-storybook-loader, a package that generates a story loader for Storybook by searching directories and matching files to patterns. By using this configuration, react-native-storybook-loader will search for files matching the pattern **/*.story.tsx within the ./src directory and output the results to the file ./storybook/storyLoader.js.
Step 2: Load Stories Generated by React Native Story Loader
Modify the storybook/index.js file to load the stories generated in Step 1.
import {loadStories} from './storyLoader';

configure(() => {
  loadStories();
}, module);
Step 3: Update Story Loader Whenever New Stories Are Updated
The react-native-storybook-loader package provides a utility function called rnstl, which updates the story loader file whenever a new story is added or removed from the codebase. To use this function, add a new script called prestorybook to your package.json file:
"scripts": {
  "prestorybook": "rnstl"
}
To run the script, simply execute yarn prestorybook whenever new stories are added or removed from the codebase.
For more details, visit https://github.com/elderfo/react-native-storybook-loader
Conclusion
In conclusion, integrating Storybook with React Native provides a powerful toolset to create and test UI components. Setting up and configuring Storybook for React Native is a simple process that can be accomplished in a few steps. Once Storybook is set up, you can use it to develop and refine UI components, making it an essential tool for any React Native developer.
comments powered by Disqus